So far I’ve posted finished pictures only. For everyone interested, here is a little insight on what I captured – and what I did with it.
The tools I used for this picture:
- Camera: Sony ILCE-7RM3 / Alpha 7r III
- Lens: Canon EF 11-24mm f/4L USM with Viltrox EF-NEX IV Adapter
- Editing software: Skylum Aurora HDR 2019 (Affiliate link) – Download a free trial here
Since I’m kind of a “guerilla photographer” I rarely get the tripod out, so the shots are handheld. This is what I got out of the camera:
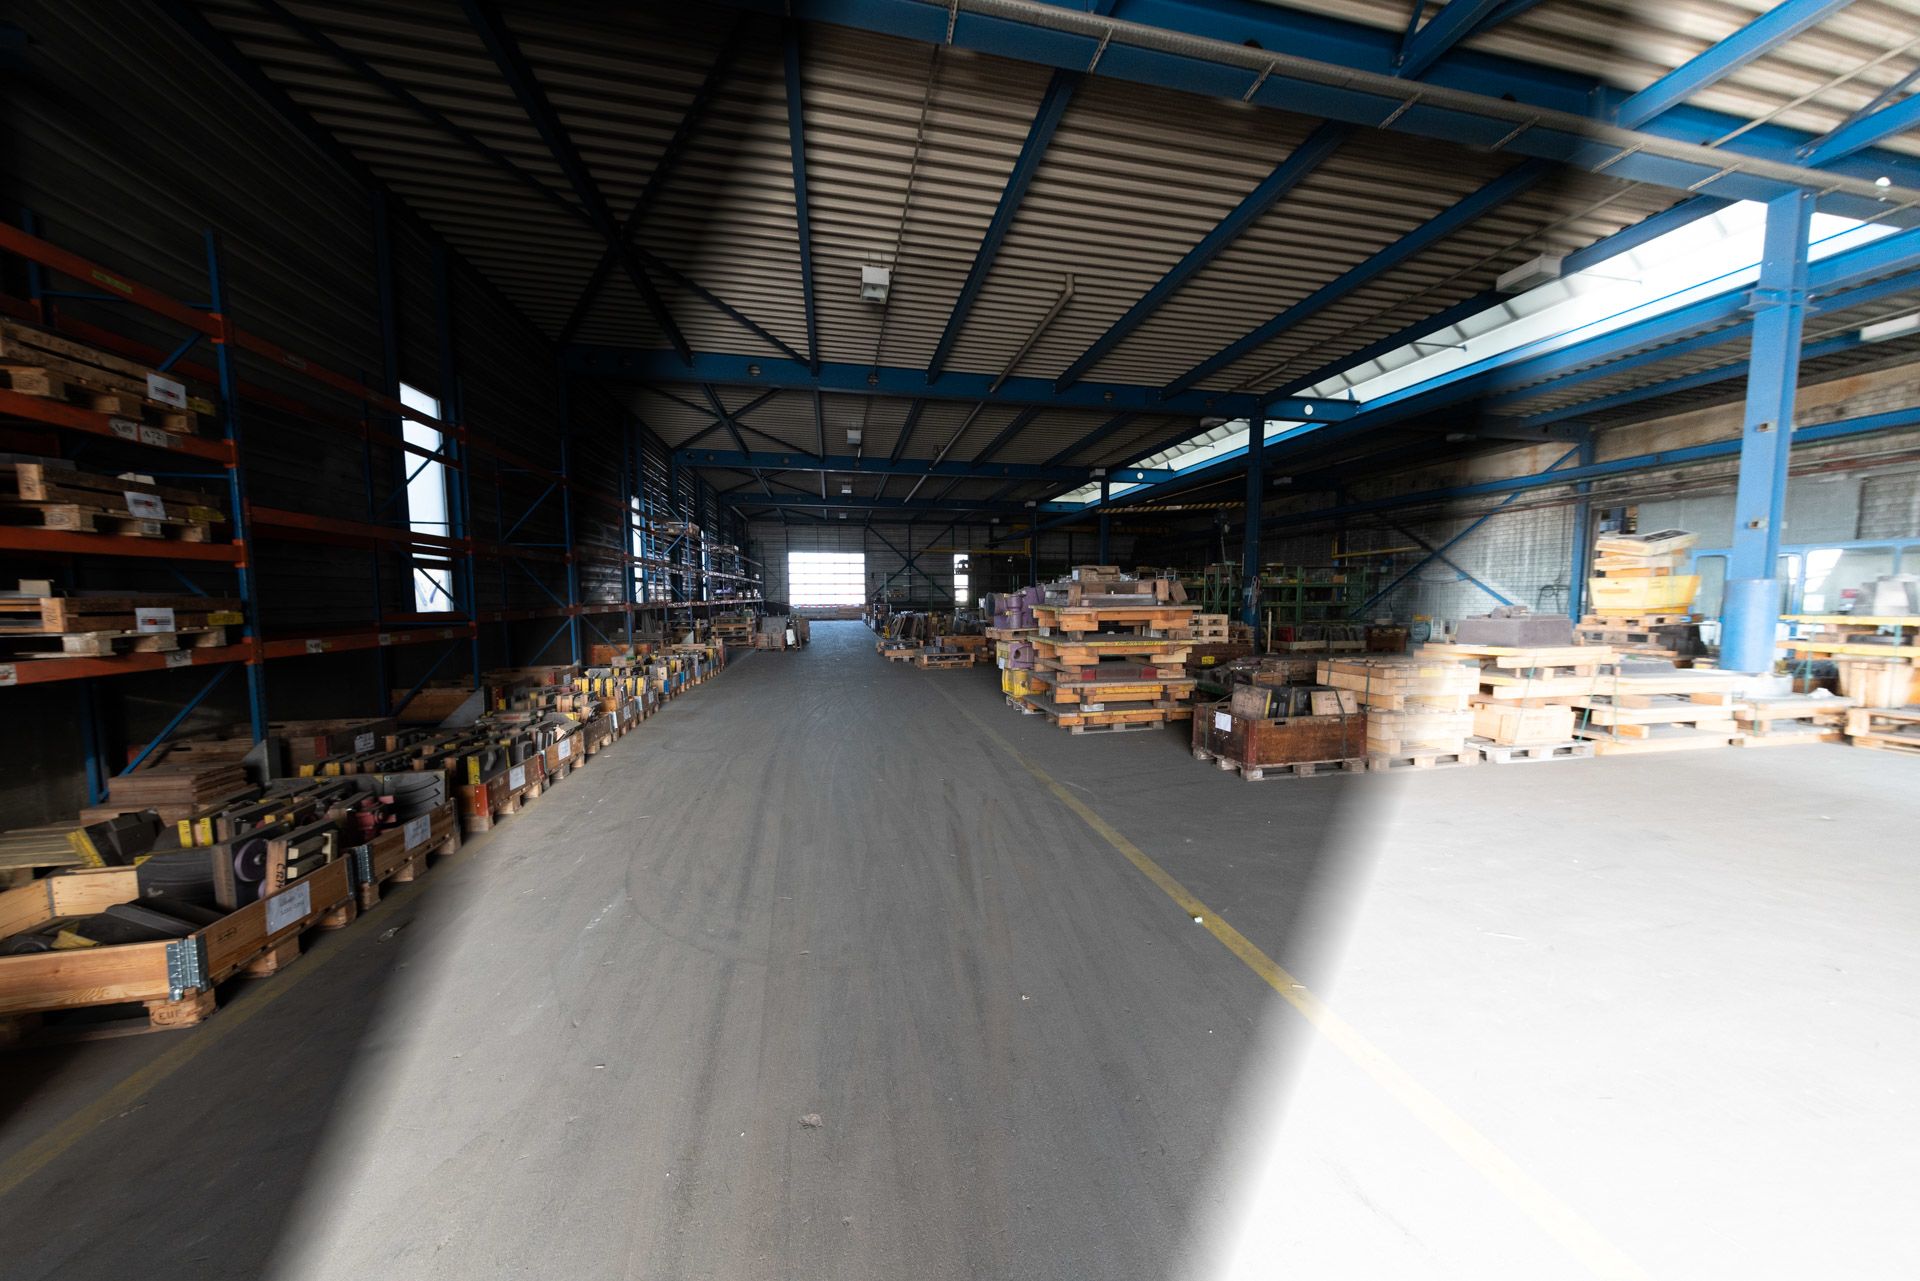
The Storehouse -RAW (-3EV, 0EV, +3EV)
For the camera I used my “kind of default” settings for UrbEx:
- Aperture Priority
- Auto ISO: 100-3200
- Aperture: 4.5
- Focal length: 11mm
- Continuous Bracketing 0EV – -3EV – +3EV
Although 3200 ISO produces considerable noise in some situations, not using the tripod requires some sacrifices – so a little more editing.
The low aperture is just fine – with a focal length of 11mm and f 4.5, the hyperfocal distance (where everything in the background is acceptable sharp) starts at 0.09 meters.
The pictures have the following parameters:
- -3EV: ISO 320, Exposure 1/60 sec.
- 0EV: ISO 2500, Exposure 1/60 sec.
- +3EV: ISO 3200, Exposure 1/10 sec.
Those three images I loaded in to my favorite HDR application: Skylum Aurora HDR 2019
Upon import, I use all the options:
- “Auto Alignment” since no tripod is used and the software aligns the images
- “Ghost reduction” is usually meant to reduce the effect on moving subjects – I found that the “medium” (Reference Image: EV 0.0) setting is not affecting the result in a negative way but helps to get a bit more sharpness for handheld bracket sets
- “Chromatic Aberration Reduction” because wide angle lenses sometimes have some aberrations
- “Color Denoise” to reduce a bit the noise
Now this was not the first picture of this series I edited, so I had some presets saved for this location from earlier edits.If you like to try the preset, you can download it here (There is a LUT involved in the preset. Here is a download including the LUT-file – I’m sorry, but I do not remember if it came with a free preset or with a software; the LUT has the Copyright 2017 ©ThinkTAP!).
Of course: on the first picture I sometimes choose one of the built in presets as a starting point but other times I just start from scratch and “go crazy on all sliders”. Even when starting with a preset, usually the final settings are quite far away from the initial set. On one hand, the picture should have my style – on the other hand, even if the imported shots are from the same location as the previous one, that doesn’t mean that the same preset brings the same result.
My tactics to editing a series starts with choosing a picture(set) where I can imagine how the result should look and feel like. Once I achieve the desired picture, I save the preset. Usually this will be my starting pint for the next edit. Minor adjustments will be necessary for each edit. In case major adjustments are needed to match the picture to the series, I save a new preset. For the Ferrum series with 246 finalized pictures, I saved a total of 22 presets. Some give a similar look – but it’s always easier to delete unneeded presets than to achieve the same result without.
This is what I got with the first preset I saved for this series – and the one I used as the starting point for most developments on this shooting (with some minor adjustments on all pictures):
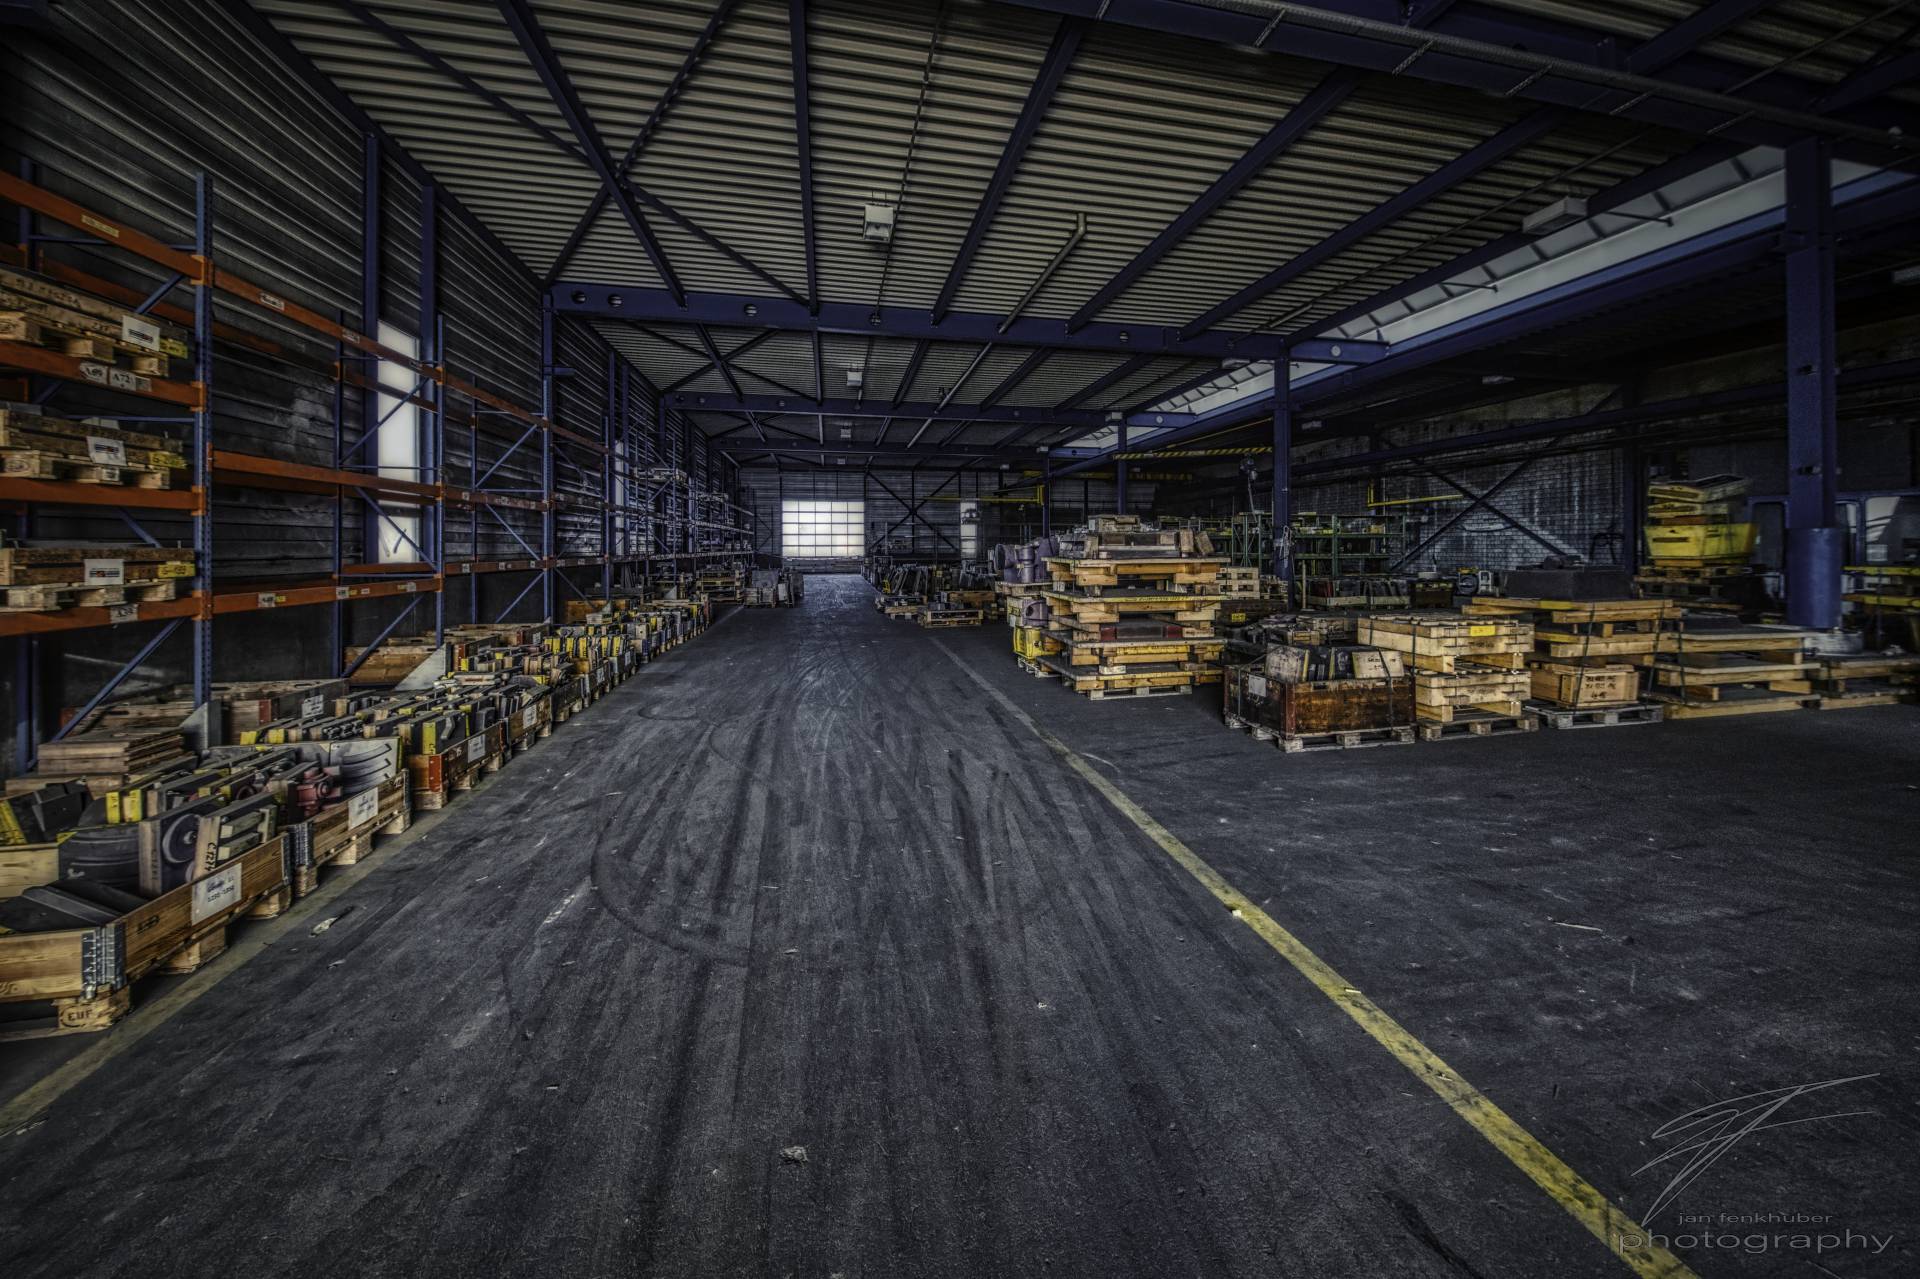
The Storehouse
most people post both at the same time so they can compare. You may want to think about just adding this image to the edit photo.